
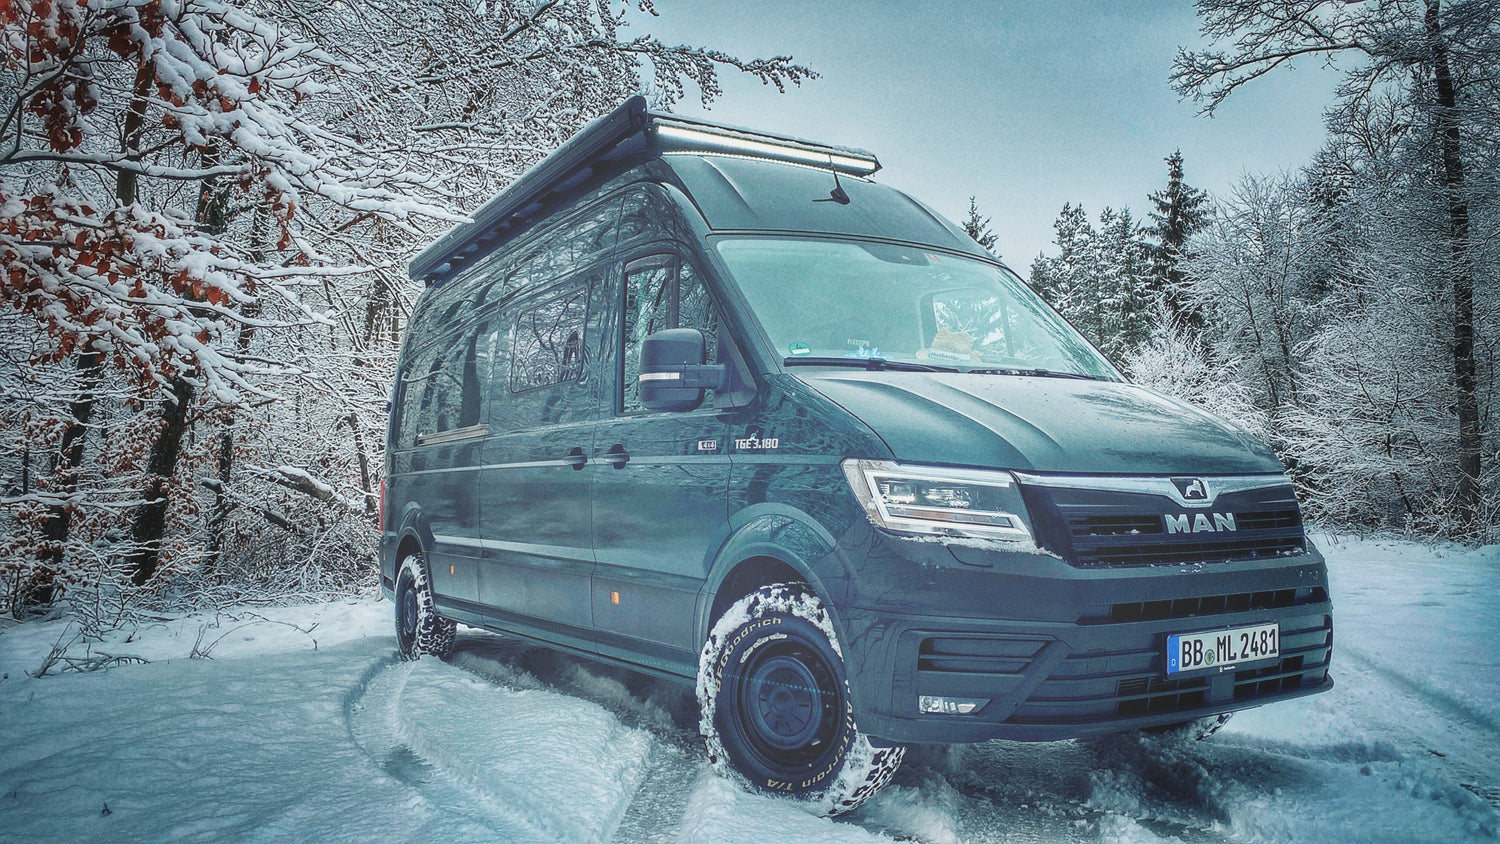
Ah, the cold season! Anyone who fits out their own camper van knows that fall isn’t just a time of golden hues—it also brings with it the big question: How do I winterize my van? Because let’s be honest: A cold camper van isn’t a cozy home. It’s a damp, uncomfortable tin can that quickly turns into a stalactite cave. I still remember my first winter trips well, when I had to scrape the ice off the inside of the window every morning! No more of that.

Photo: Steven Funk
The good news: With the right strategy for the two most important factors—heating and insulation—nothing stands in the way of your winter adventure. So, let’s get down to the basics.
Which heater is best for winter campers?
A diesel air heater is the best solution for anyone who wants to travel self-sufficiently and safely in the winter. In recent years, it has become the absolute favorite for DIY conversions and is replacing traditional gas heaters.
Which heater is a better fit for my van: diesel or gas—a direct comparison?
Unlike traditional propane or butane gas heaters, which have long dominated the camping scene, the diesel option offers key advantages for DIY campers:
-
Availability: You can fill up on diesel almost anywhere in the world, whereas gas cylinders may not be compatible internationally. The fuel is always on board.
-
Safety & Space: There’s no need to handle heavy gas cylinders or deal with the associated requirement for complex, gas-tight storage compartments (gas cylinder boxes). The diesel heater uses the vehicle’s existing fuel tank, thereby saving valuable storage space and eliminating the weight of large gas cylinders.
-
Important: Who is a diesel heater NOT suitable for? If you stay almost exclusively at fully equipped campgrounds or only take extremely short trips in mild temperatures, a simpler, portable gas solution may suffice. For self-sufficiency and real winter nights, however, diesel is the clear winner.
Side note: Be careful with electric heaters and fan heaters! Many campgrounds explicitly prohibit the use of fan heaters or even small electric heaters. The reason is the extremely high power consumption of these devices. The wiring and electrical panels at older campgrounds are often not designed to handle this, which can quickly lead to overloads and blown fuses. They’re okay for basic warmth, but as the sole heat source in winter, they’re not a reliable or safe solution.
Optimal Placement: How Do I Install the Diesel Auxiliary Heater in My Van?
The positioning of your diesel heater is almost as important as the heater itself. The auxiliary heater should always be placed inside the vehicle. This provides optimal protection against the elements, dirt, and splashing water. It also significantly simplifies airflow.
Note: Only the heated air is circulated inside the cabin. The intake of combustion air and the exhaust of fumes always take place outside the vehicle. A suitable flange simplifies routing through the floor.
Avoid localized heat. Your goal is not to create a single hotspot, but to circulate the air evenly throughout the entire interior. This reduces cold spots and, consequently, the risk of condensation.
Here’s how to ensure proper circulation: The intake for the heated air should be located where the air is coldest, for example, in the rear of the vehicle (near the rear doors). The warm air should then be vented as far forward as possible, ideally toward the driver’s and front passenger’s seats. This flow of air across the van creates even circulation, distributes heat more effectively, and reduces condensation.
Installation tip: Draining diesel from the tank is a particular hurdle that deters many DIY enthusiasts (this often requires drilling into the tank). If you don’t feel confident doing this step, you can always seek help from professionals or try it yourself under supervision at a workshop (Link: https://www.busbastler.de/workshops).
BOXIO SANITARY PLUS | Mobile bathroom with TENT
How do I properly insulate my van to permanently prevent mold and cold?
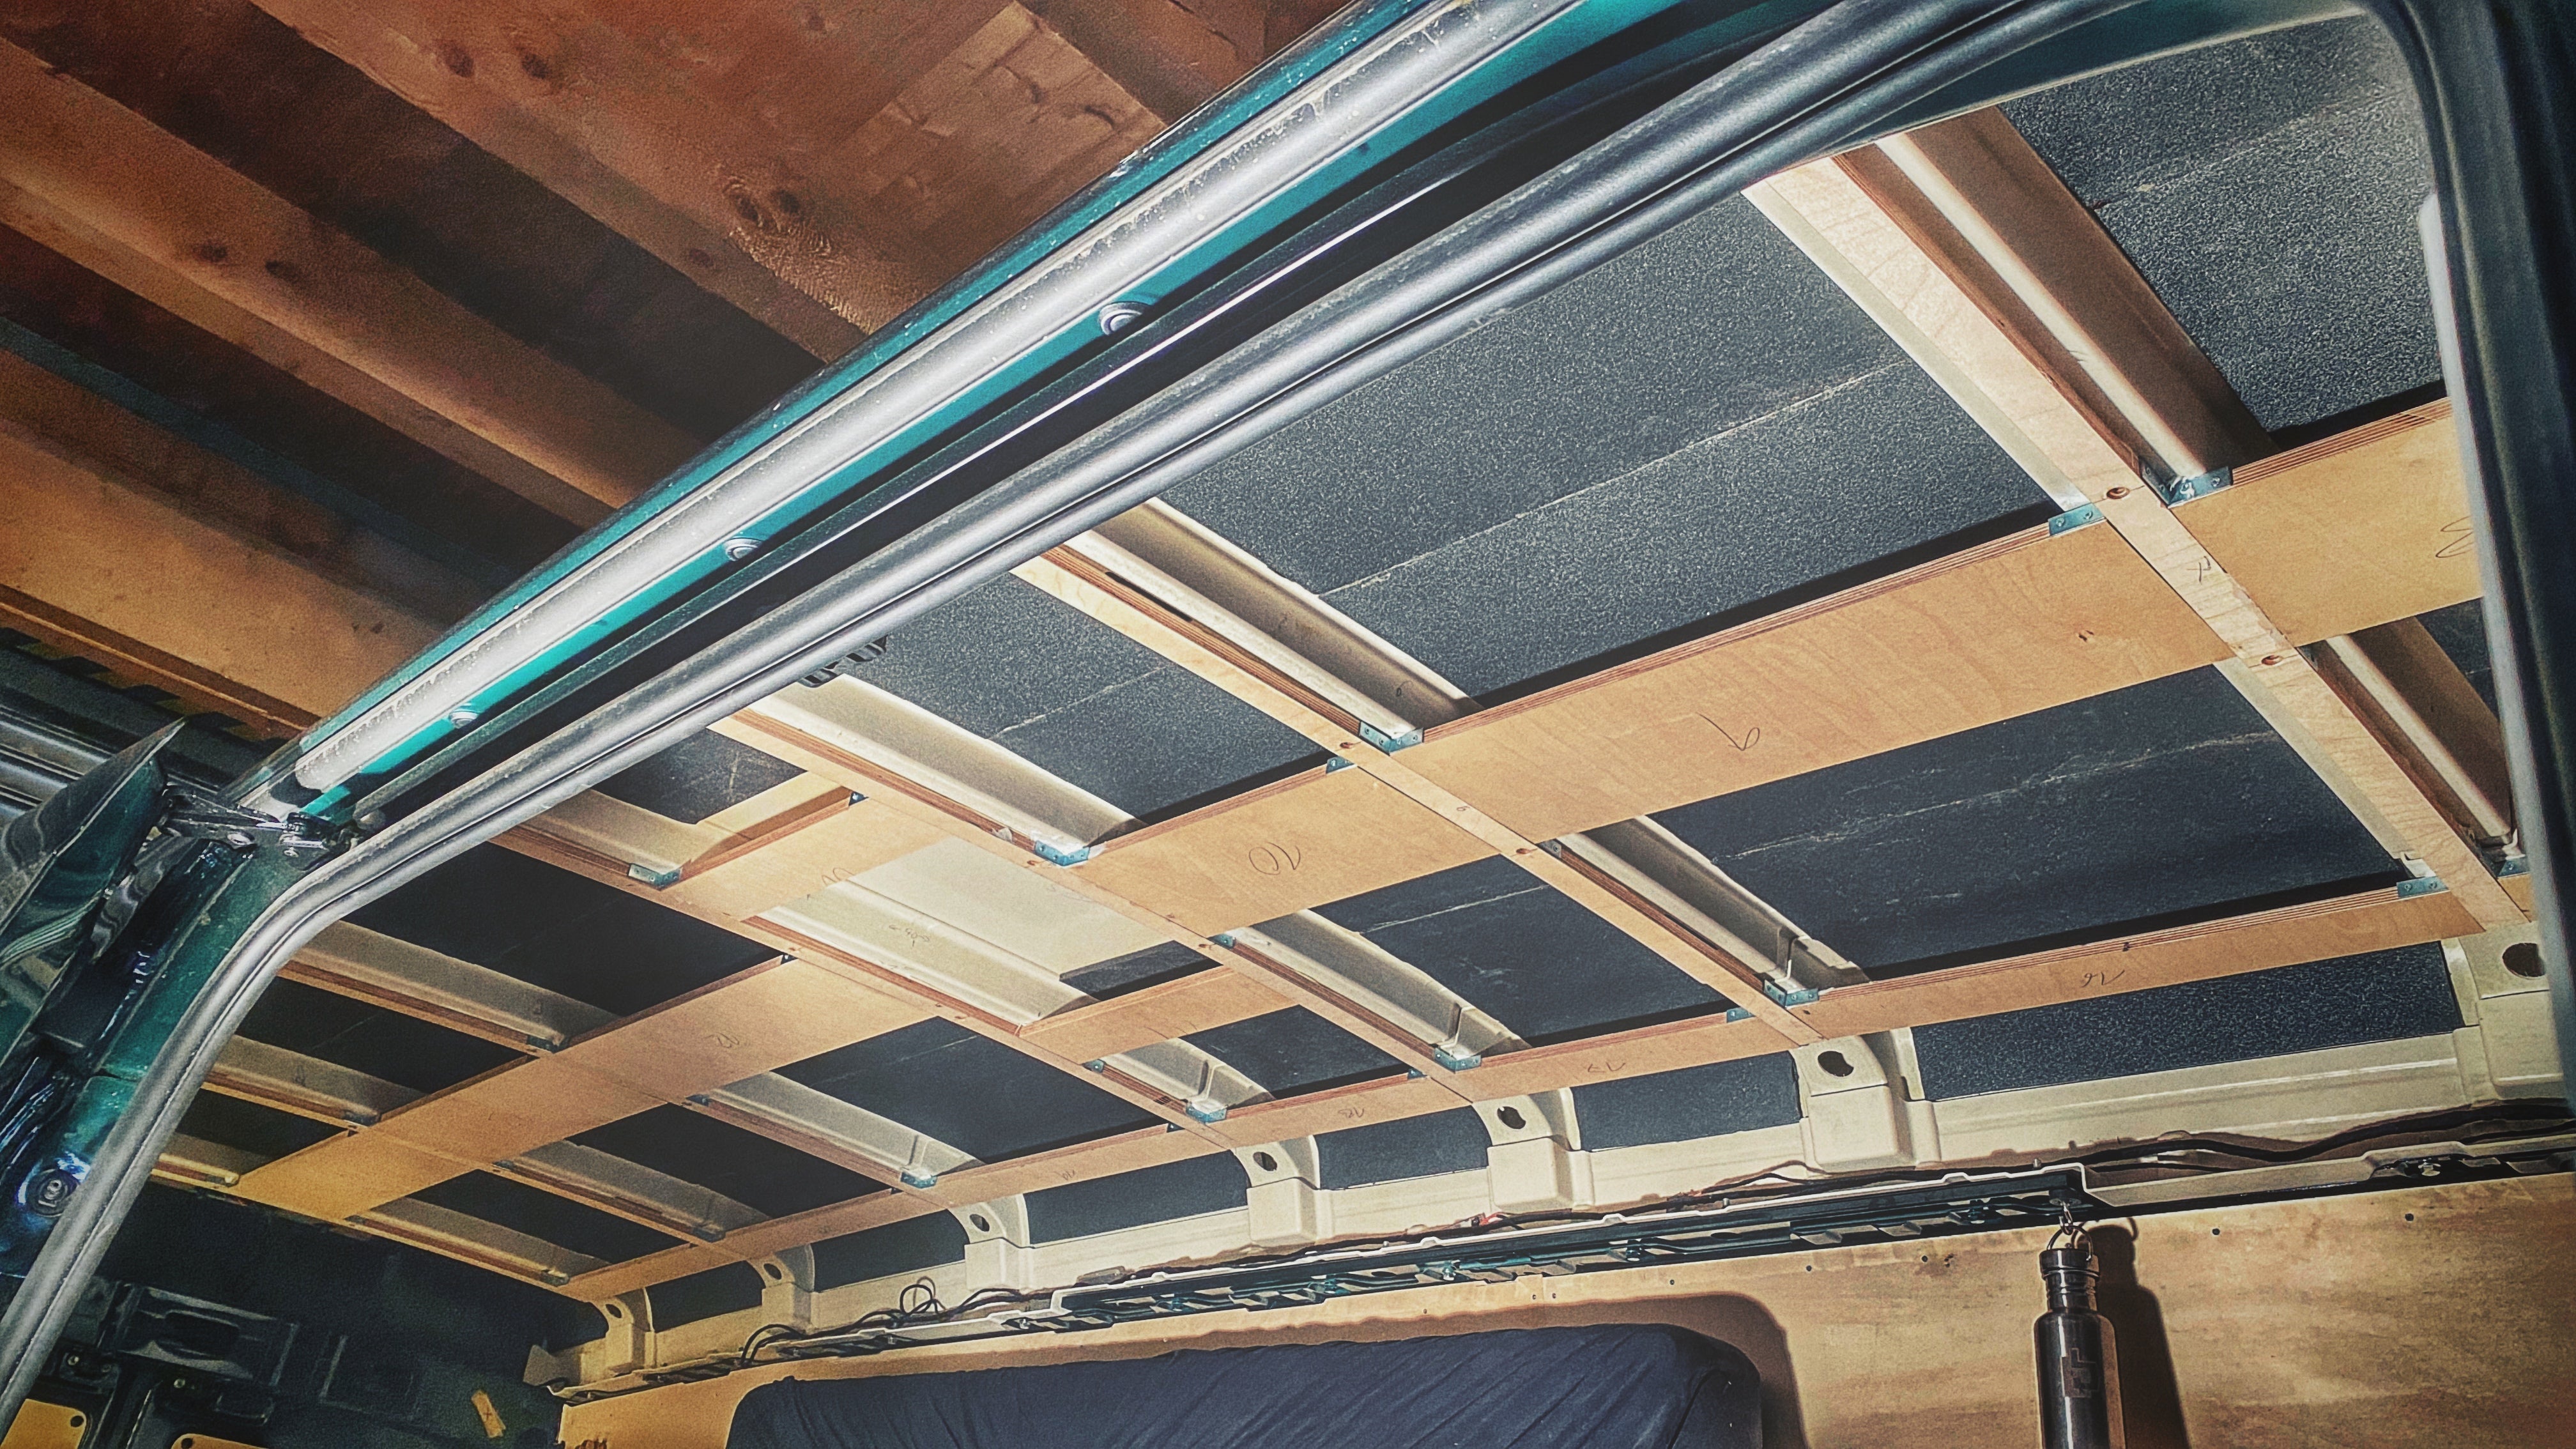
Seamless insulation is essential for preventing condensation and mold in your van. Even the best heating system is useless if the heat escapes immediately through the bare metal. That’s why, when it comes to insulation, more is better.
Which insulation materials are best for my DIY van conversion?
Be sure to use tried-and-true products designed specifically for mobile use and to prevent mold, such as Armaflex AF, Vanue, Extremisolator, or Thermo Isocell.
Important note about the material: The products listed above are closed-cell foams that absorb virtually no water. The AF material also features a special Microban® surface that actively prevents fungal and bacterial growth. Other, less expensive Armaflex varieties are often intended only for technical applications and do not have this mold protection.
Are natural insulation materials like cork and sheep’s wool suitable for my van?
Natural insulation materials like cork or sheep’s wool are a good idea, but they must be installed correctly and with proper ventilation. Adequate rear ventilation is absolutely essential, as these materials retain moisture. When it comes to cork, only spray cork applied by a professional is suitable. Self-adhesive materials and cork sold by the meter are completely unsuitable.
Would you like to know more about natural insulation? Leave us a comment, and I’ll cover the topic in detail again in a future post!
Insulation Checklist: How do I install the material seamlessly and safely?
-
Self-adhesive: Use the self-adhesive version. This not only makes installation much easier but also reduces exposure to solvents and additional adhesives. (Tip: A ceramic knife ensures perfect, smooth cuts without gaps.)
-
Cover the Entire Surface Without Gaps: The insulation must be applied over the entire surface of the sheet metal, leaving no exposed metal anywhere.
-
Seal the joints: Close all joints between the insulation panels without leaving any gaps. Then seal these joints with a suitable insulation tape to create a continuous surface.
-
No air between the insulation and the sheet metal: This is crucial! No air must be allowed to get between the sheet metal and the insulation, as condensation can otherwise form there. Press the material firmly into place.
-
Stick to the system: Use only products from the same manufacturer for cleaning, bonding, and insulating. The products are designed to work together. If you mix products, they may be chemically incompatible, fail to adhere, or even cause damage.
Where in the van should I NOT insulate (sacrificial areas)?
When insulating your van, you must prevent moisture from accumulating behind the insulation. This is where the concept of “sacrificial areas” comes into play.
Sacrificial areas are sections where condensation is allowed to form and drain off intentionally. These typically include:
-
The lower 20 cm of the body (below the plastic trim).
-
Areas beneath handles and clips through which water can penetrate anyway.
Important: Please do not insulate these areas. If you insulate them, you’ll trap the water and create ideal conditions for rust and mold. Condensation must be able to seep unimpeded down to the vehicle floor or the door drains.
What is the dew point, and why is it important when insulating?
The dew point is the temperature at which the moisture in the air condenses (i.e., turns into liquid). In a leaky van, the warm, humid interior air would come into direct contact with the cold sheet metal. The sheet metal is then colder than the dew point, and water forms immediately.
If you insulate properly, you shift the dew point: It is no longer on the metal surface, but inside the insulation. The insulation itself is designed to be vapor-tight (water-vapor-resistant) and to keep the metal away from the warm interior air. The metal stays colder, but the warm, humid air doesn’t reach it. This keeps your interior dry.
What are some tips for making perfect, clean cuts in insulation?
Working with insulation materials requires precision. My secret tip for perfect, smooth cuts that fit together cleanly without leaving gaps: use a ceramic knife. These knives are extremely sharp, don’t get clogged as easily, and glide more smoothly through the insulation material than conventional utility knives. Regular utility knives dull quickly. As soon as the material tears while cutting, you should replace the blade immediately to maintain clean edges.
FAQ: Quick Answers to Your Questions About Winterizing, Insulation, and Heating
Question 1: Why is Armaflex AF better than other Armaflex varieties for campers? Armaflex AF is the only type that features a special Microban® surface. This technology actively combats mold and bacterial growth, which is essential for the health and preservation of the camper’s interior in a humid environment.
Question 2: What happens if I leave gaps between the insulation panels? Gaps or unsealed joints create what are known as thermal bridges. The warm air inside the camper can reach the cold metal there and immediately condense (dew point). The result is damp sheet metal that can rust, and, over time, mold growth behind the paneling.
Question 3: How can I run my gas heater independently in the winter? This usually requires large (and heavy) gas cylinders, which are difficult to exchange internationally. In winter, when temperatures drop below freezing, butane gas can no longer be used; you’ll need more expensive propane gas. A diesel heater is the more flexible and low-maintenance solution here.
Question 4: How much insulation (thickness) is necessary for winter in Germany/Central Europe? A good standard for a van that can be used year-round is 19 mm of Armaflex on the walls and ceiling, ideally combined with 6 mm to 10 mm on the frame members and in hard-to-reach areas.
Question 5: Why are electric space heaters often prohibited at campgrounds? They consume a great deal of electricity (often 1,000 to 2,000 watts), which can quickly overload the campground’s power supply and circuit breakers. For campers who rely on shore power, they’re therefore often not an option.
With the right combination of an efficient diesel heater and well-installed, mold-resistant insulation, you can get your van ready for winter—warm, dry, and cozy!
BOXIO FIRE BUNDLE I Fire bowl with grill in Eurobox